
If you love grilling as much as I do, you know how important it is to keep your BBQ gear in great shape. Especially when winter rolls in, cold, wet weather can be pretty tough on your grill and tools if you’re not careful. Putting in a bit of effort before packing everything away is smart. It’s also one of the best ways to make sure your grill is ready to go for your first cookout next spring. Here are my go-to tips and recommended gear for winter storage that’ll help you dodge any nasty surprises when the snow finally melts.
Why Proper Winter Storage Matters
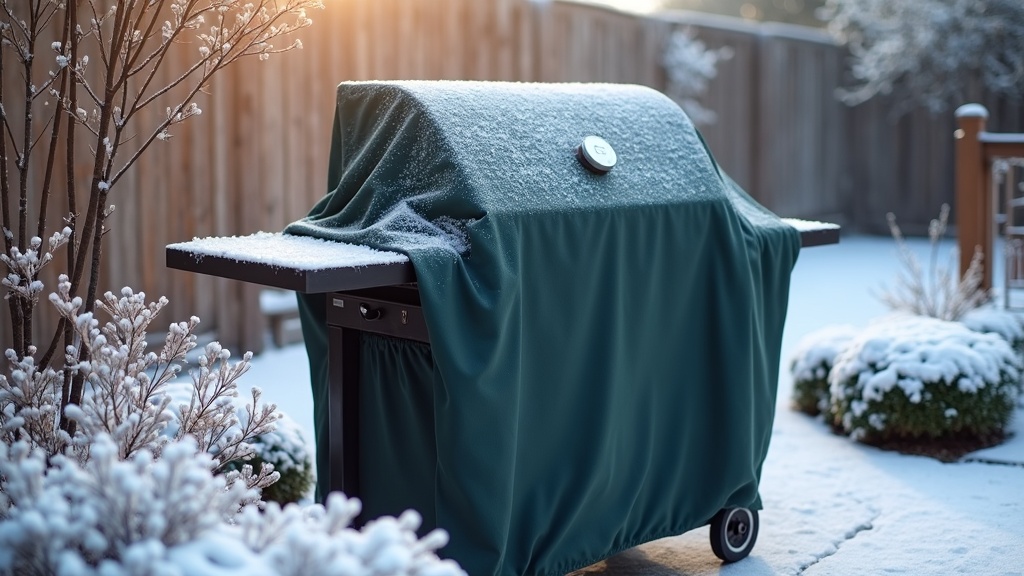
Leaving your grill and BBQ equipment exposed to winter weather leads to more than just a dirty grill. It can cause rust, corrosion, and even damage expensive parts. Winter weather brings freezing temperatures, extra moisture, and sometimes pests, all of which can shorten your grill’s lifespan if you don’t store it right.
Even stainless steel can start to rust when water or snow sits on it for months at a time. I learned this the hard way one year, when my old grill developed a flaky ignition and pitted grates after just one rough winter. Taking steps to store your gear properly helps you avoid spending time and money on repairs or replacements when grilling season returns.
Proper storage also keeps your grill safer. Moisture build-up can lead to mould, which is pretty gross to clean off, and rodents might find a cosy home inside if there’s any leftover food. Even if you’re short on time, a quick prep and thoughtful storage plan can make a huge difference.
Cleaning and Prepping Before Storage
Before you tuck your grill away for the season, give it an excellent cleaning. Skipping this step invites rust and makes your first BBQ of the year a headache. Here’s a rundown of how I prep mine, from burners to covers:
- Deep clean the grates: Scrub away old food and grease with a grill brush and warm, soapy water. For tricky bits, soak the grates in a solution of vinegar and baking soda, which works wonders.
- Empty the ash catcher or grease tray: Old ash and grease trap moisture and attract pests. Remove these, wipe them down, and let them dry before putting anything back in place.
- Wipe down the exterior: Wash the outside using mild soap and a soft cloth, avoiding anything too abrasive. Scratches make it easier for rust to show up.
- Inspect burners and connections: For gas grills, disconnect the propane tank and check all hoses for cracks or leaks. If you spot a problem, mark it for a fix before next season.
- Clean interior surfaces: Remove leftover buildup from burner tubes, flame tamers, and fireboxes using a putty knife or grill scraper. It doesn’t have to be spotless, but remove anything that could rot or rust later.
- Dry thoroughly: Moisture is your enemy. Make sure every part is totally dry before you move to storage, especially the inside, where mould is likely to pop up.
If you’re using charcoal, toss out any leftover briquettes and sweep up any dust. If your grill has removable parts like side burners or shelves, take them off and store them separately in a dry spot.
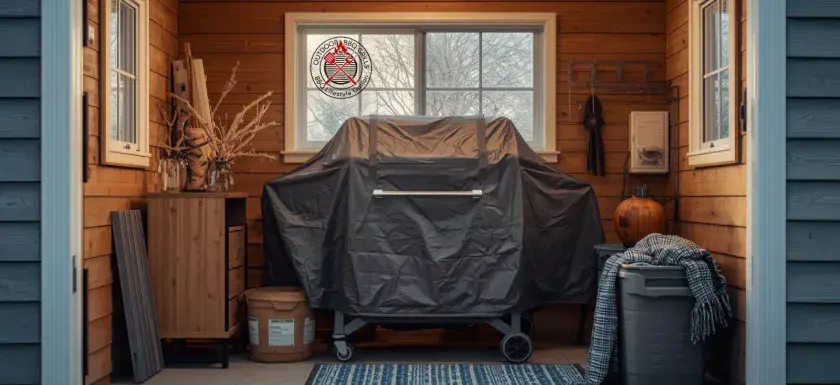
Best Covers, Shelters, and Storage Solutions
The right cover or storage can add years to your BBQ setup. I’ve tried everything from basic tarps to custom-fitted covers, and some options provide significantly greater protection than others.
- BBQ Covers: Look for a heavy-duty, waterproof, and UV-resistant grill cover. Brands such as Covers & All and Weber make reliable covers for most models. Good features include tiedown straps and breathable vents to help prevent condensation. Check out this affiliate link for my recommendations.
- Sheltered Storage: If you have space, storing your grill in the garage, garden shed, or under a sturdy gazebo gives extra peace of mind. For those short on indoor space, a weatherproof deck box or an outdoor shed works great.
- Tool Storage: Hang your tongs, brushes, and spatulas on a dedicated hook rack. For smaller tools and thermometers, a plastic storage bin with a snap-lock lid keeps everything together and dry. Drop in a silica gel pack or another moisture absorber as a precaution.
- Propane and Charcoal Storage: Always disconnect propane tanks and store them outdoors (never indoors) in an upright, secure position. Charcoal and wood chips require a sealed, dry container to prevent moisture and avoid spoilage.
- Wheel Locks or Braces: If your grill sits outdoors in a windy area, locking the wheels or bracing the legs helps prevent tipping during high winds or snowstorms.
Get a cover that fits your grill’s shape and size. While tempting to save with a tarp, they don’t breathe and can trap in water, ruining all that cleaning you did.
Quick Start Guide for Next Season 2026
When warm weather returns, pulling your grill out of storage should be quick and simple. Here’s how I get my grill ready for spring with minimal hassle:
- Inspect for pests and debris: Open the cover carefully. Spiders love BBQs during winter downtime. Sweep out any leaves or dust that found their way inside.
- Check all parts: Go over burners, ignition switches, hoses, and gas connections for cracks or rust. Give extra care to any parts you marked for repair last fall.
- Wash grates and surfaces again: Even after cleaning before storage, dust and cobwebs often show up. A fresh wipe with soapy water and a rinse gets everything good to go.
- Reconnect propane or restock charcoal: For gas grills, reattach the propane tank and double-check all connections before lighting it up. For charcoal grills, ensure your charcoal is fresh and dry.
- Test your setup: Run the grill for 10–15 minutes to burn off residue and ensure it heats evenly. Listen for odd noises and watch for unexpected flames.
- Oil the grates: When everything’s back in place, rub a bit of cooking oil on the grates using a paper towel. This simple step helps ward off rust and keeps food from sticking.
It’s worth tackling these things early so you can jump right back into grilling. Try a test cook with something simple, such as burgers or vegetables. It’s a good way to work out any kinks, meaning your first authentic BBQ will go off without issues.
Frequently Asked Questions
Can I store my grill outside all winter?
Yes, but only if it’s well covered and ideally protected from direct snow or sleet. If you expect a rough winter, indoor storage is your best choice.
What’s the best way to keep rodents out of my grill?
Clean out all food scraps first. You can also stuff a few steel wool pads in vent holes—these block entry but are easy to remove when grilling season comes around again.
How do I keep moisture from causing rust?
A dry grill protected with a breathable cover is best. Toss in a few moisture absorbers or silica gel packs for reassurance, but always start with arid equipment.
Should I remove the grates for storage?
If space is tight, store the grates indoors in a dry area. If they stay with the grill, oil them lightly and cover tightly to keep them in good shape.
Keep Your Grill Ready Year-Round
A little prep before you pack up your BBQ grill for winter 2026 saves you money, time, and hassle come spring. Check out my recommended storage gear and other articles for more tips, and keep your BBQ kit in top shape until you’re ready to grill again!